I spent a fair amount of time in January learning everything I could about astronomy and building my barn door tracker to try my hand at some basic astrophotography. By mid-February I realized that I wanted a telescope in time for the Messier Marathon in early April. I discovered that amateur astronomers had been building telescopes for the last 100 years and so naturally I decided to go that route.
Right away I settled on a Dobsonian telescope which is basically a reflector telescope mounted on a simple altitude-azimuth mount. I was tempted to even hand grind the primary mirror for my scope, but realized I’d never get it done in time for the viewing season.
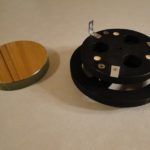
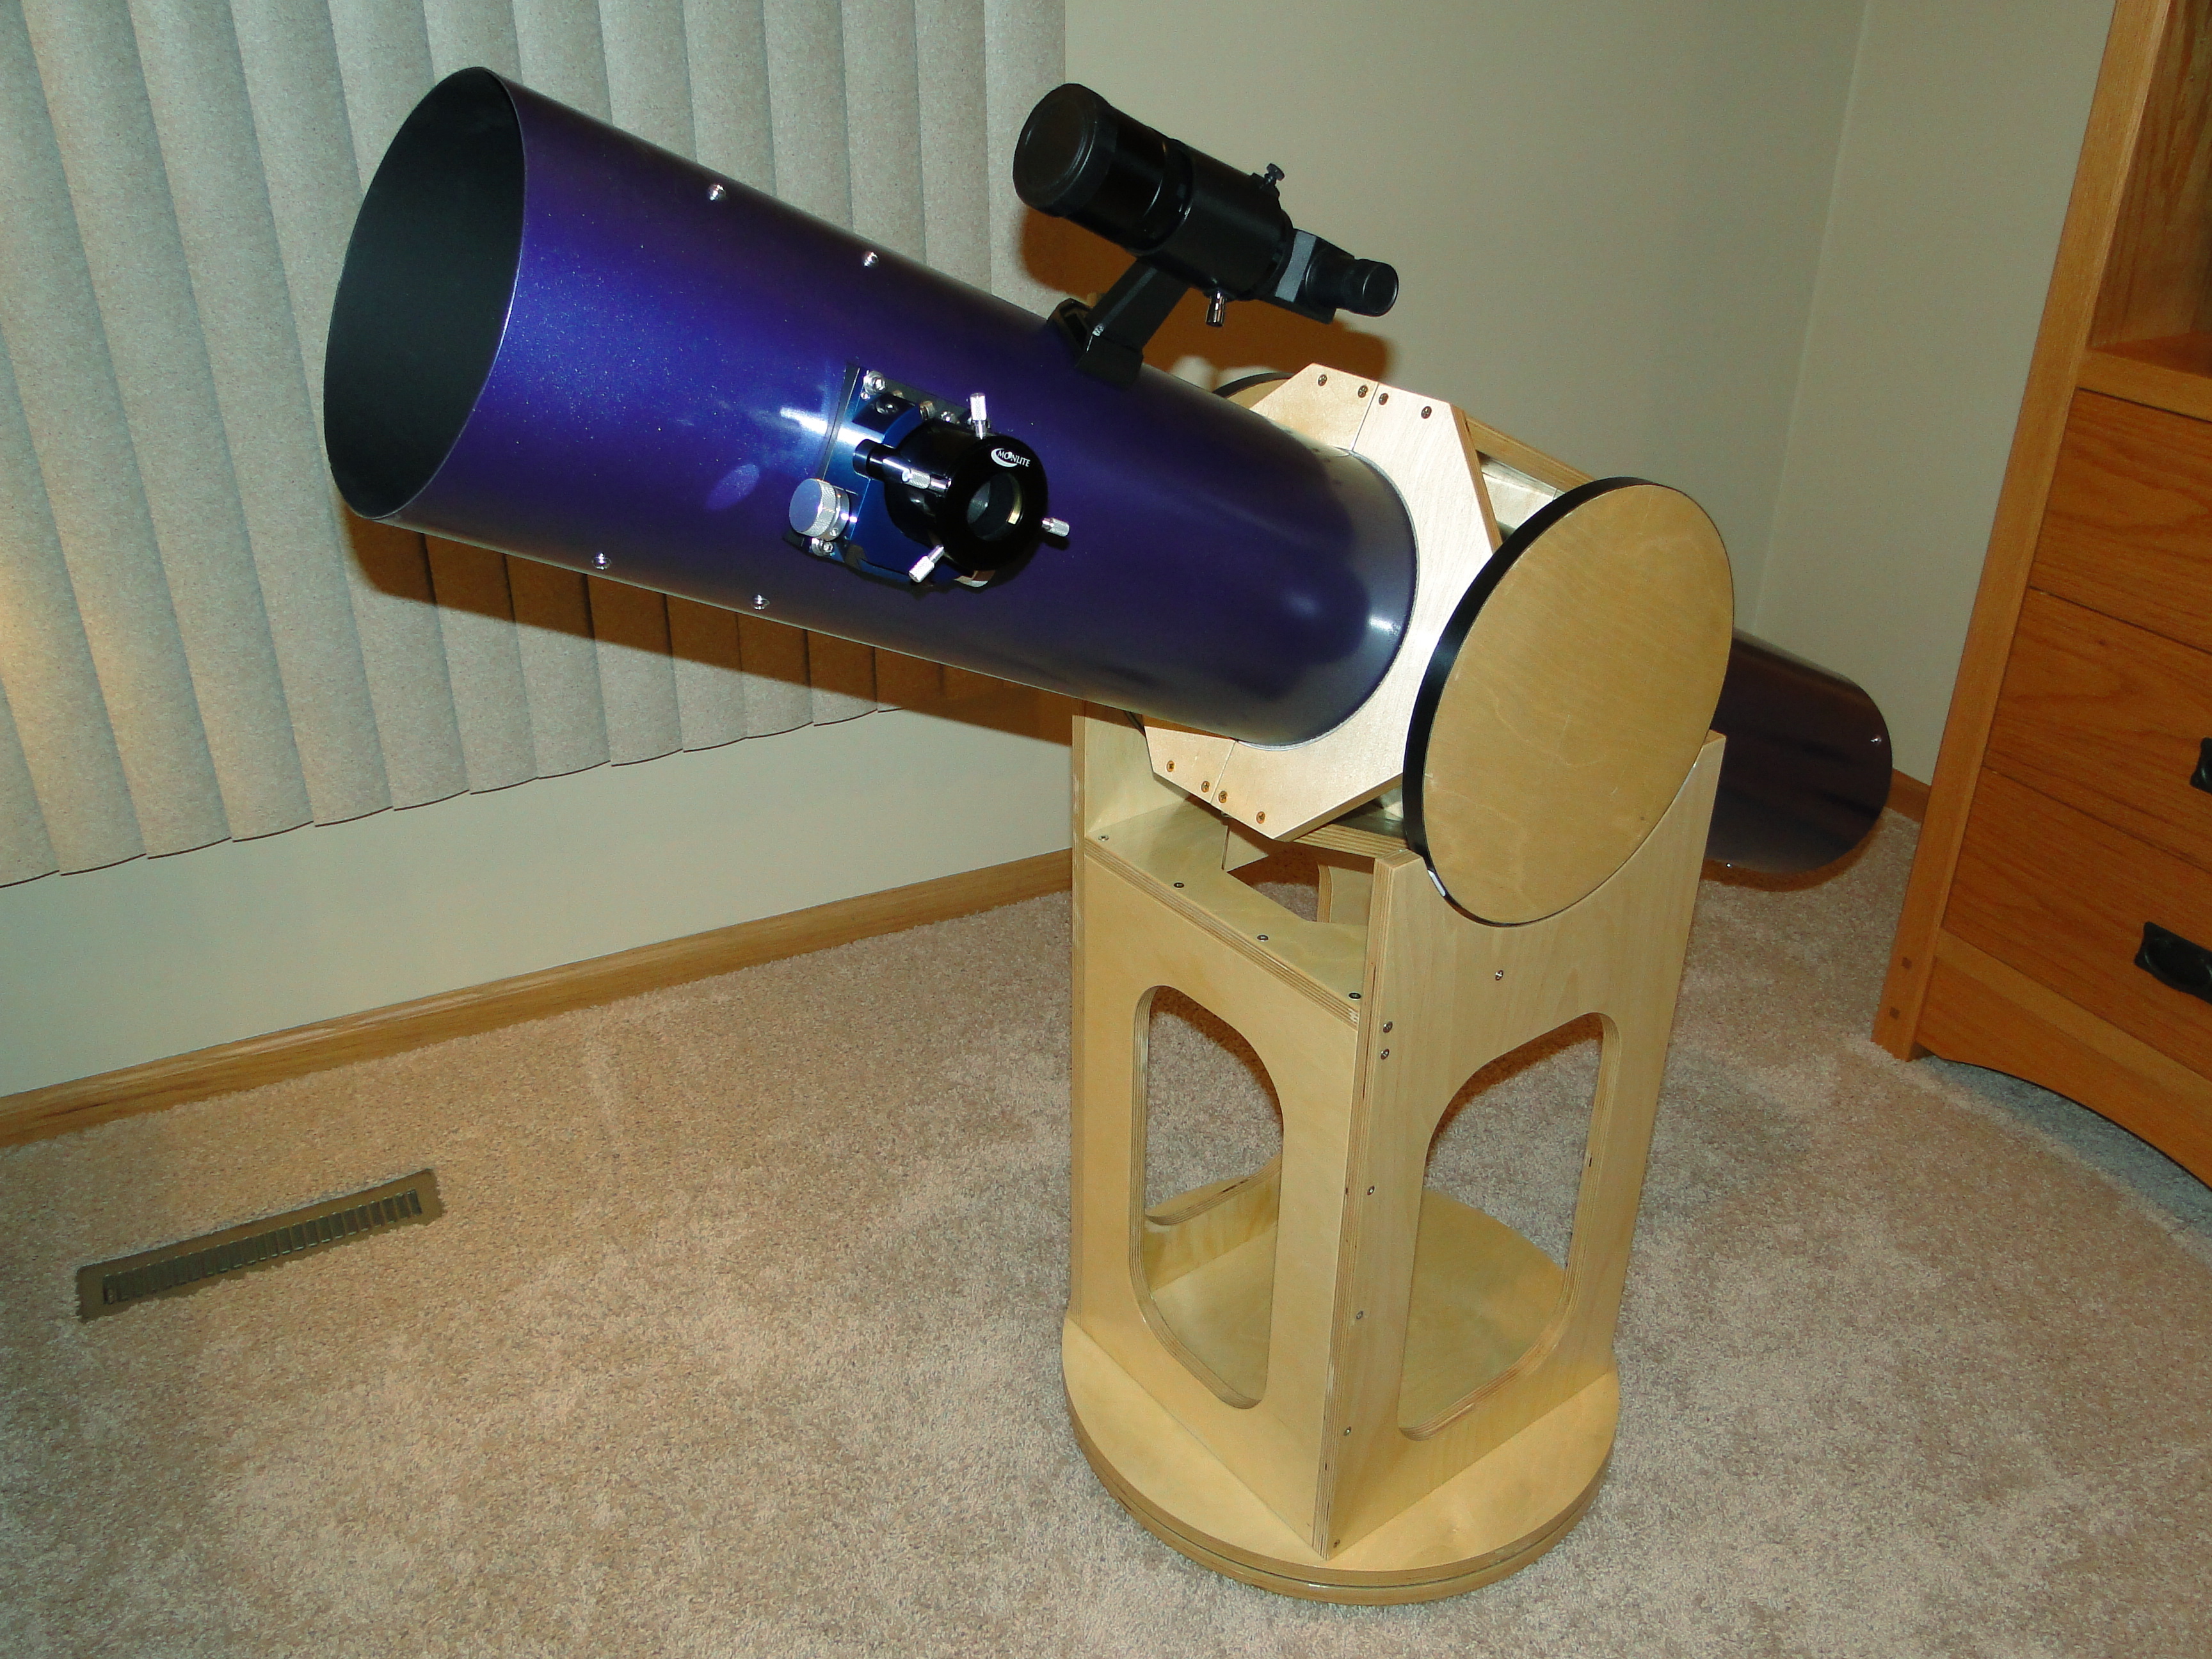
I found someone selling a new, high quality 6″ diameter f/8 mirror (48 inch focal length) in the classified pages of a common astronomy site. There are some really good online tools to work out the dimensions for telescopes so finalizing the design didn’t take too long. I then bought an 8″ thin-walled aluminum tube, 1.3″ secondary mirror and a focuser. Having a lot of experience working with thin aluminum from when I built my plane, cutting, drilling and assembling these parts was pretty straight-forward.
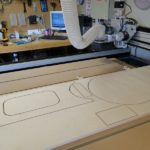
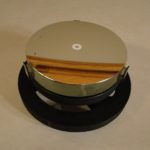
I drew up the mirror cell in my CNC router software, based on a design I found online, and cut it out of some 19mm thick Baltic Birch plywood. I had to center-dot the mirror which will help to collimate (align the mirrors) the telescope later. The mirror is simply glued to the mirror cell with three blobs of silicone adhesive, then once it’s set adding three more small blobs between the sides of the mirror and the three steel angles sticking up.
To mount the secondary mirror I used some pieces of thin aluminum around so I used that to make my own spider to hold the mirror in place. If you look at pictures that have been taken with reflector telescopes you will usually see diffraction spikes on all the brighter stars. This is caused by the typical wires or rods holding the secondary mirror in place. To minimize these spikes I instead made a curved secondary design which proved to work really well.
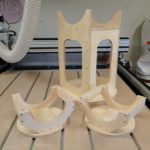
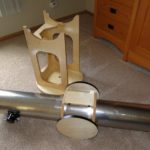
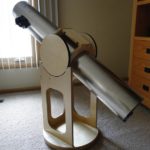
The Dobsonian mount was laid out and cut from the same Baltic Birch on my CNC router, although it wouldn’t be any more difficult to cut all the parts with hand or power tools. The two clam-shells holding the telescope tube are hinged at the bottom and bolted at the top and have a thin layer of felt where the tube meets the wood.
One of the keys to building these mounts is to get the stiction, or static friction, just right. This is desirable so that when you push on the telescope to adjust the aim it takes just a gentle push, that you don’t really notice any difference pushing horizontally, vertically or at an angle, and that as soon as you release the pressure it stops without swinging back a little. Of course, too little stiction is bad as well as your telescope might move with the wind or when you change between heavier and lighter eyepieces.
To get just the right stiction, I ordered a very specific type of Formica as well as some 1/8″ thick Teflon. The altitude rings (large circles on each side) and the underside of the upper, circular base have the Formica adhered in place. You can see the small Teflon bearings on the upper part of the mount and there are four similar pieces on the lower, circular base.
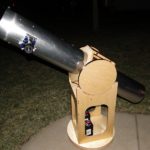
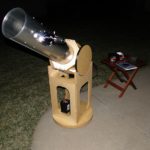
I think it was some guys from Canada that had posted a suggestion to use hockey pucks for the feet. They are cheap and work great.
I also added 9×50 RACI finder scope mounted about 45° up and a little behind the focuser, which is a really nice position allowing you to easily switch between the two. I later added a Telrad finder along the top of the tube just above the RACI.
First light was a week before the Messier Marathon and I managed to get it painted just a couple of days prior. Overall I couldn’t be more pleased with how it all came out and it works exactly as I had hoped.