A bit more than a year ago, after I had sold my RV-10 project, I was looking for a new hobby, especially one making stuff. I explored 3D printing for a bit, but decided it just wasn’t quite mature enough for me.
Then I stumbled upon Joe’s CNC and decided it would be fun to build my own. This isn’t really a kit, but more of a set of plans you can follow or use as a guideline. You either build or buy all the parts you need from a variety of different suppliers, based on how you decide to build the machine.
I decided I wanted to build the Evolution model and wanted it big enough to fit a half-size sheet of plywood. For the base, I already had a wire-feed welder I hadn’t ever really used, so I decided to build a welder steel frame. I made it in three sections that get bolted together so I could take it apart in the future in case I ever wanted to move it. I think the base alone is probably around 300 pounds. I was also really happy with how flat the top came out, especially with little experience welding.
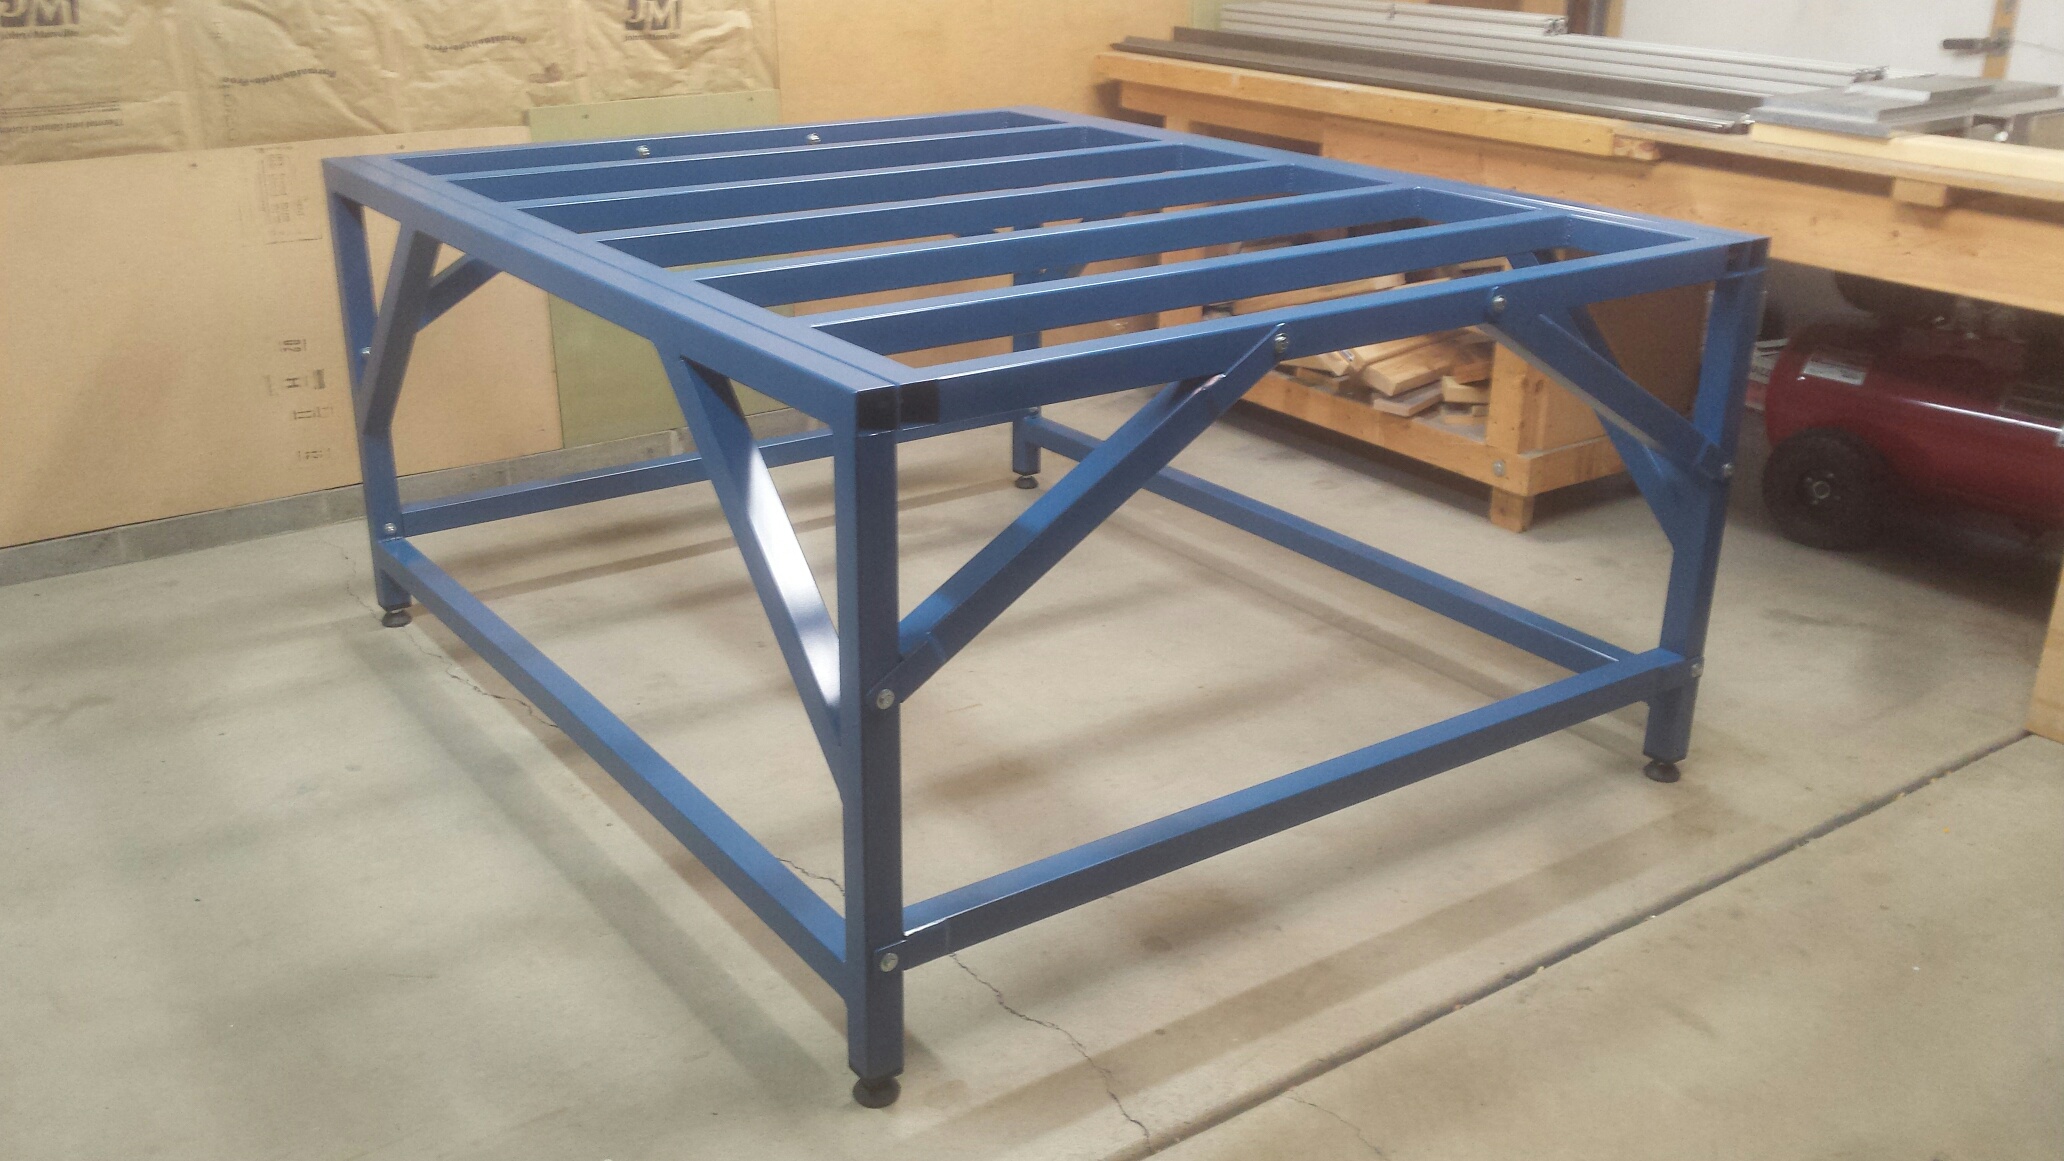
Evolution Steel Base Frame
Next it was time to attach the 80/20 T-slot aluminum extrusions as the Y-axis rails along the sides. After drilling all the necessary holes in the steel attachment angle, I screwed it to the rails. Next came drilling more holes in the angle, then into the steel base, and then tapping all the holes in the base.
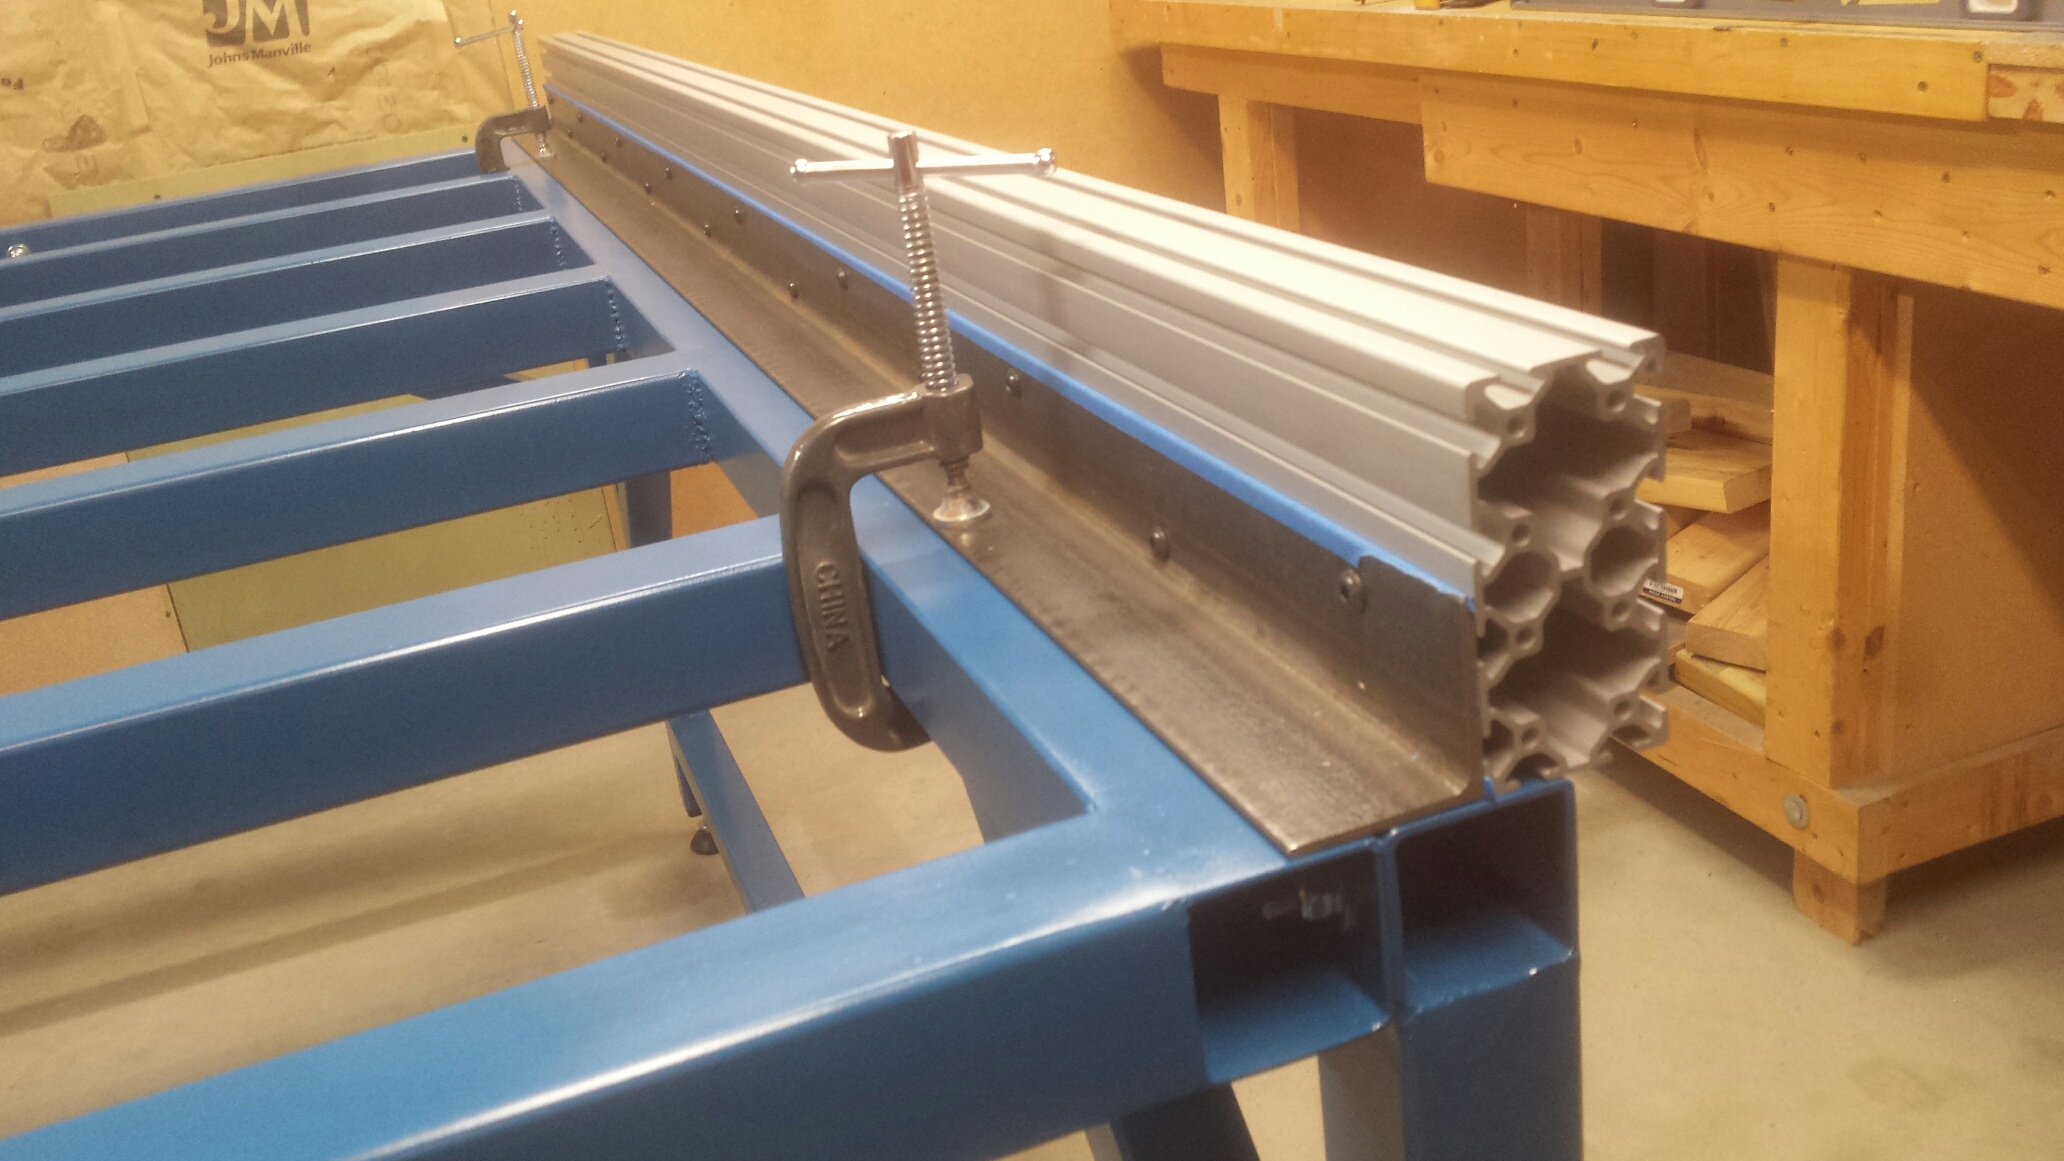
Y-axis Rail
Getting everything perfectly aligned is really important and once I was done I found the distance between the rails to be within 0.01″. I also pulled fishing line across the diagonals and found the lines touched at the middle with either line on top / bottom.
Next I had to cut and drill the carriage plates and a variety of other parts. For the plates I bought a really good jig saw and some good quality blades to get through the 3/4″ thick aluminum. After a little filing and sanding to the final shape, I had to next drill a bunch of holes. I used my tabletop benchtop drill press for most of the holes, but had to get creative with my router to make the curved, slotted holes. I was really surprised how well they came out.
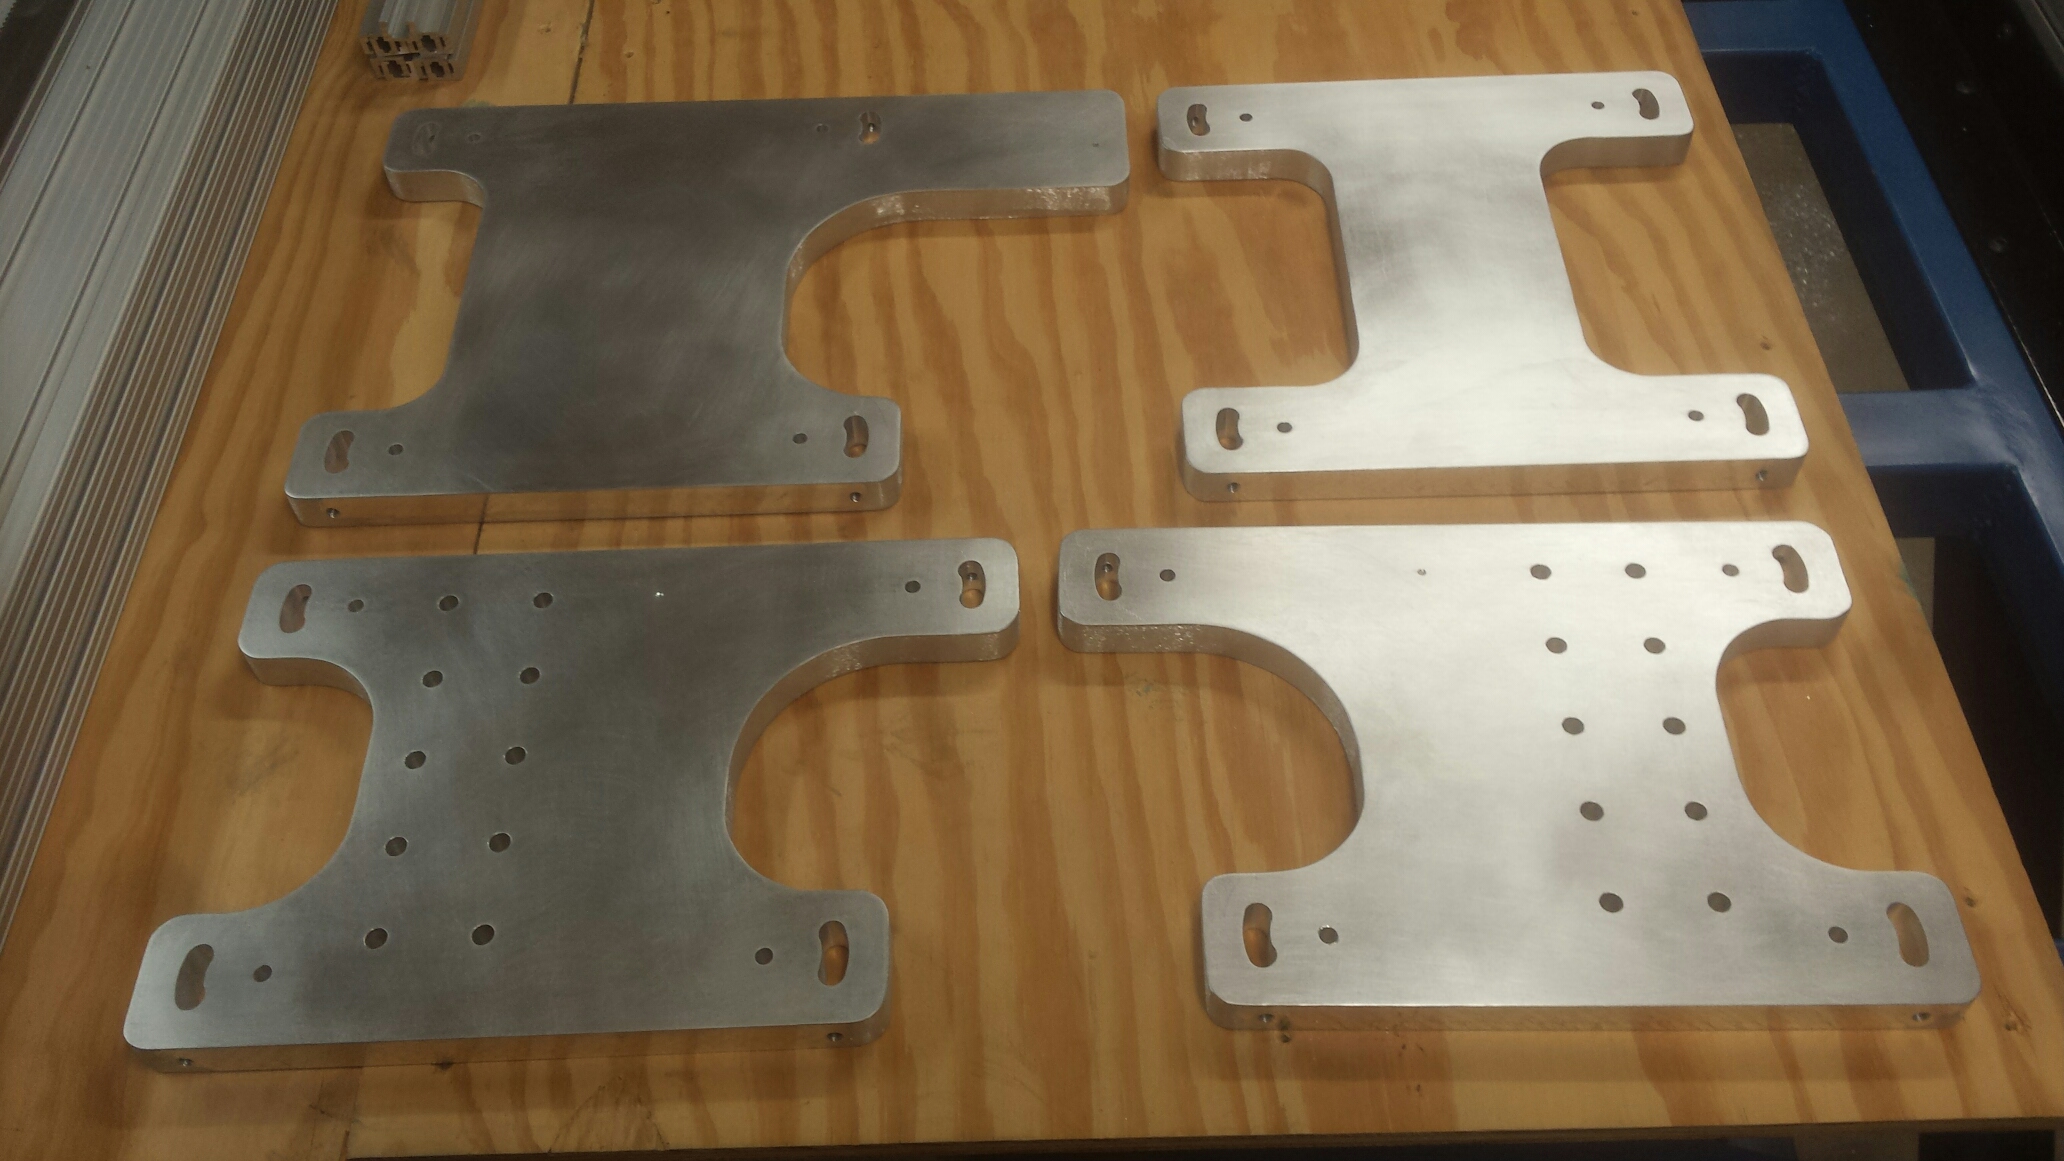
Carriage Plates
I also had to make and add smaller steel angles to the top and bottom of the x-axis and y-axis rails to allow the carriage plates to roll along the length. There are V-bearings that ride along these angles and can be adjusted up and down via a cam-type of arrangement.
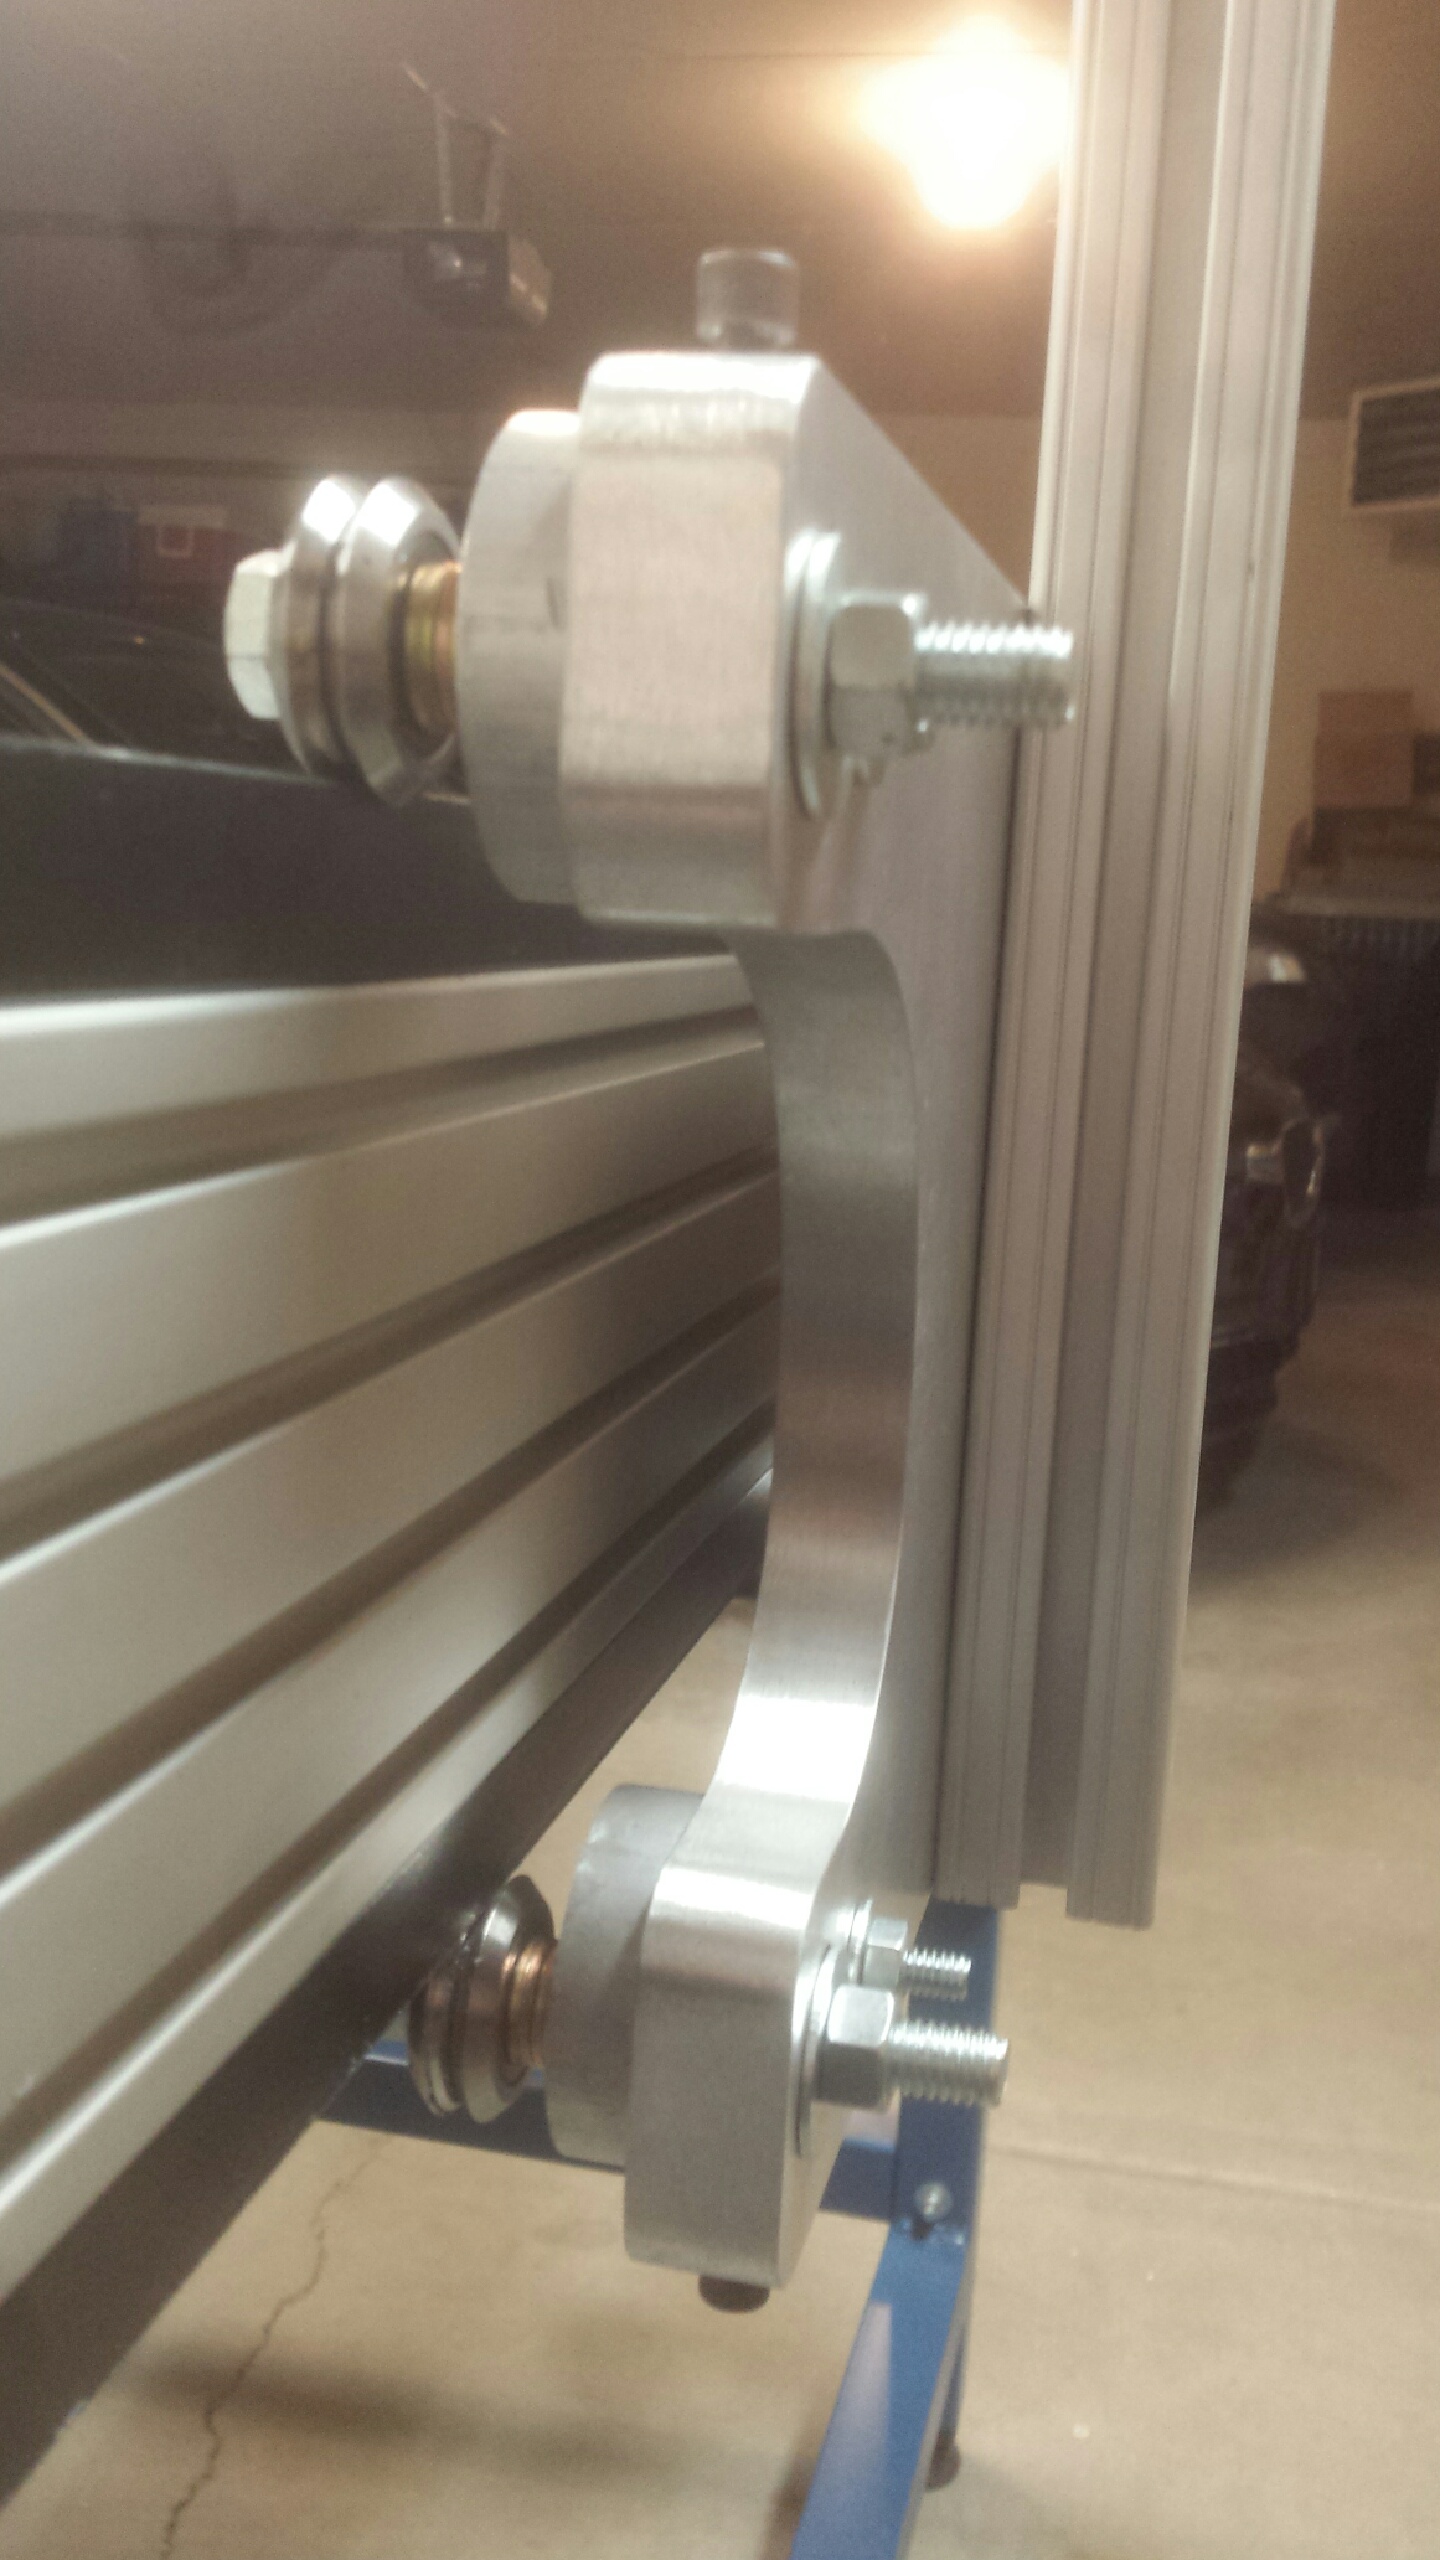
Y-axis carriage with V-bearings and cam adjusters.
Next you get to attach the X-axis gantry and then the stepper motors, mounts and gear racks. At this point you start to realize how big this machine is.
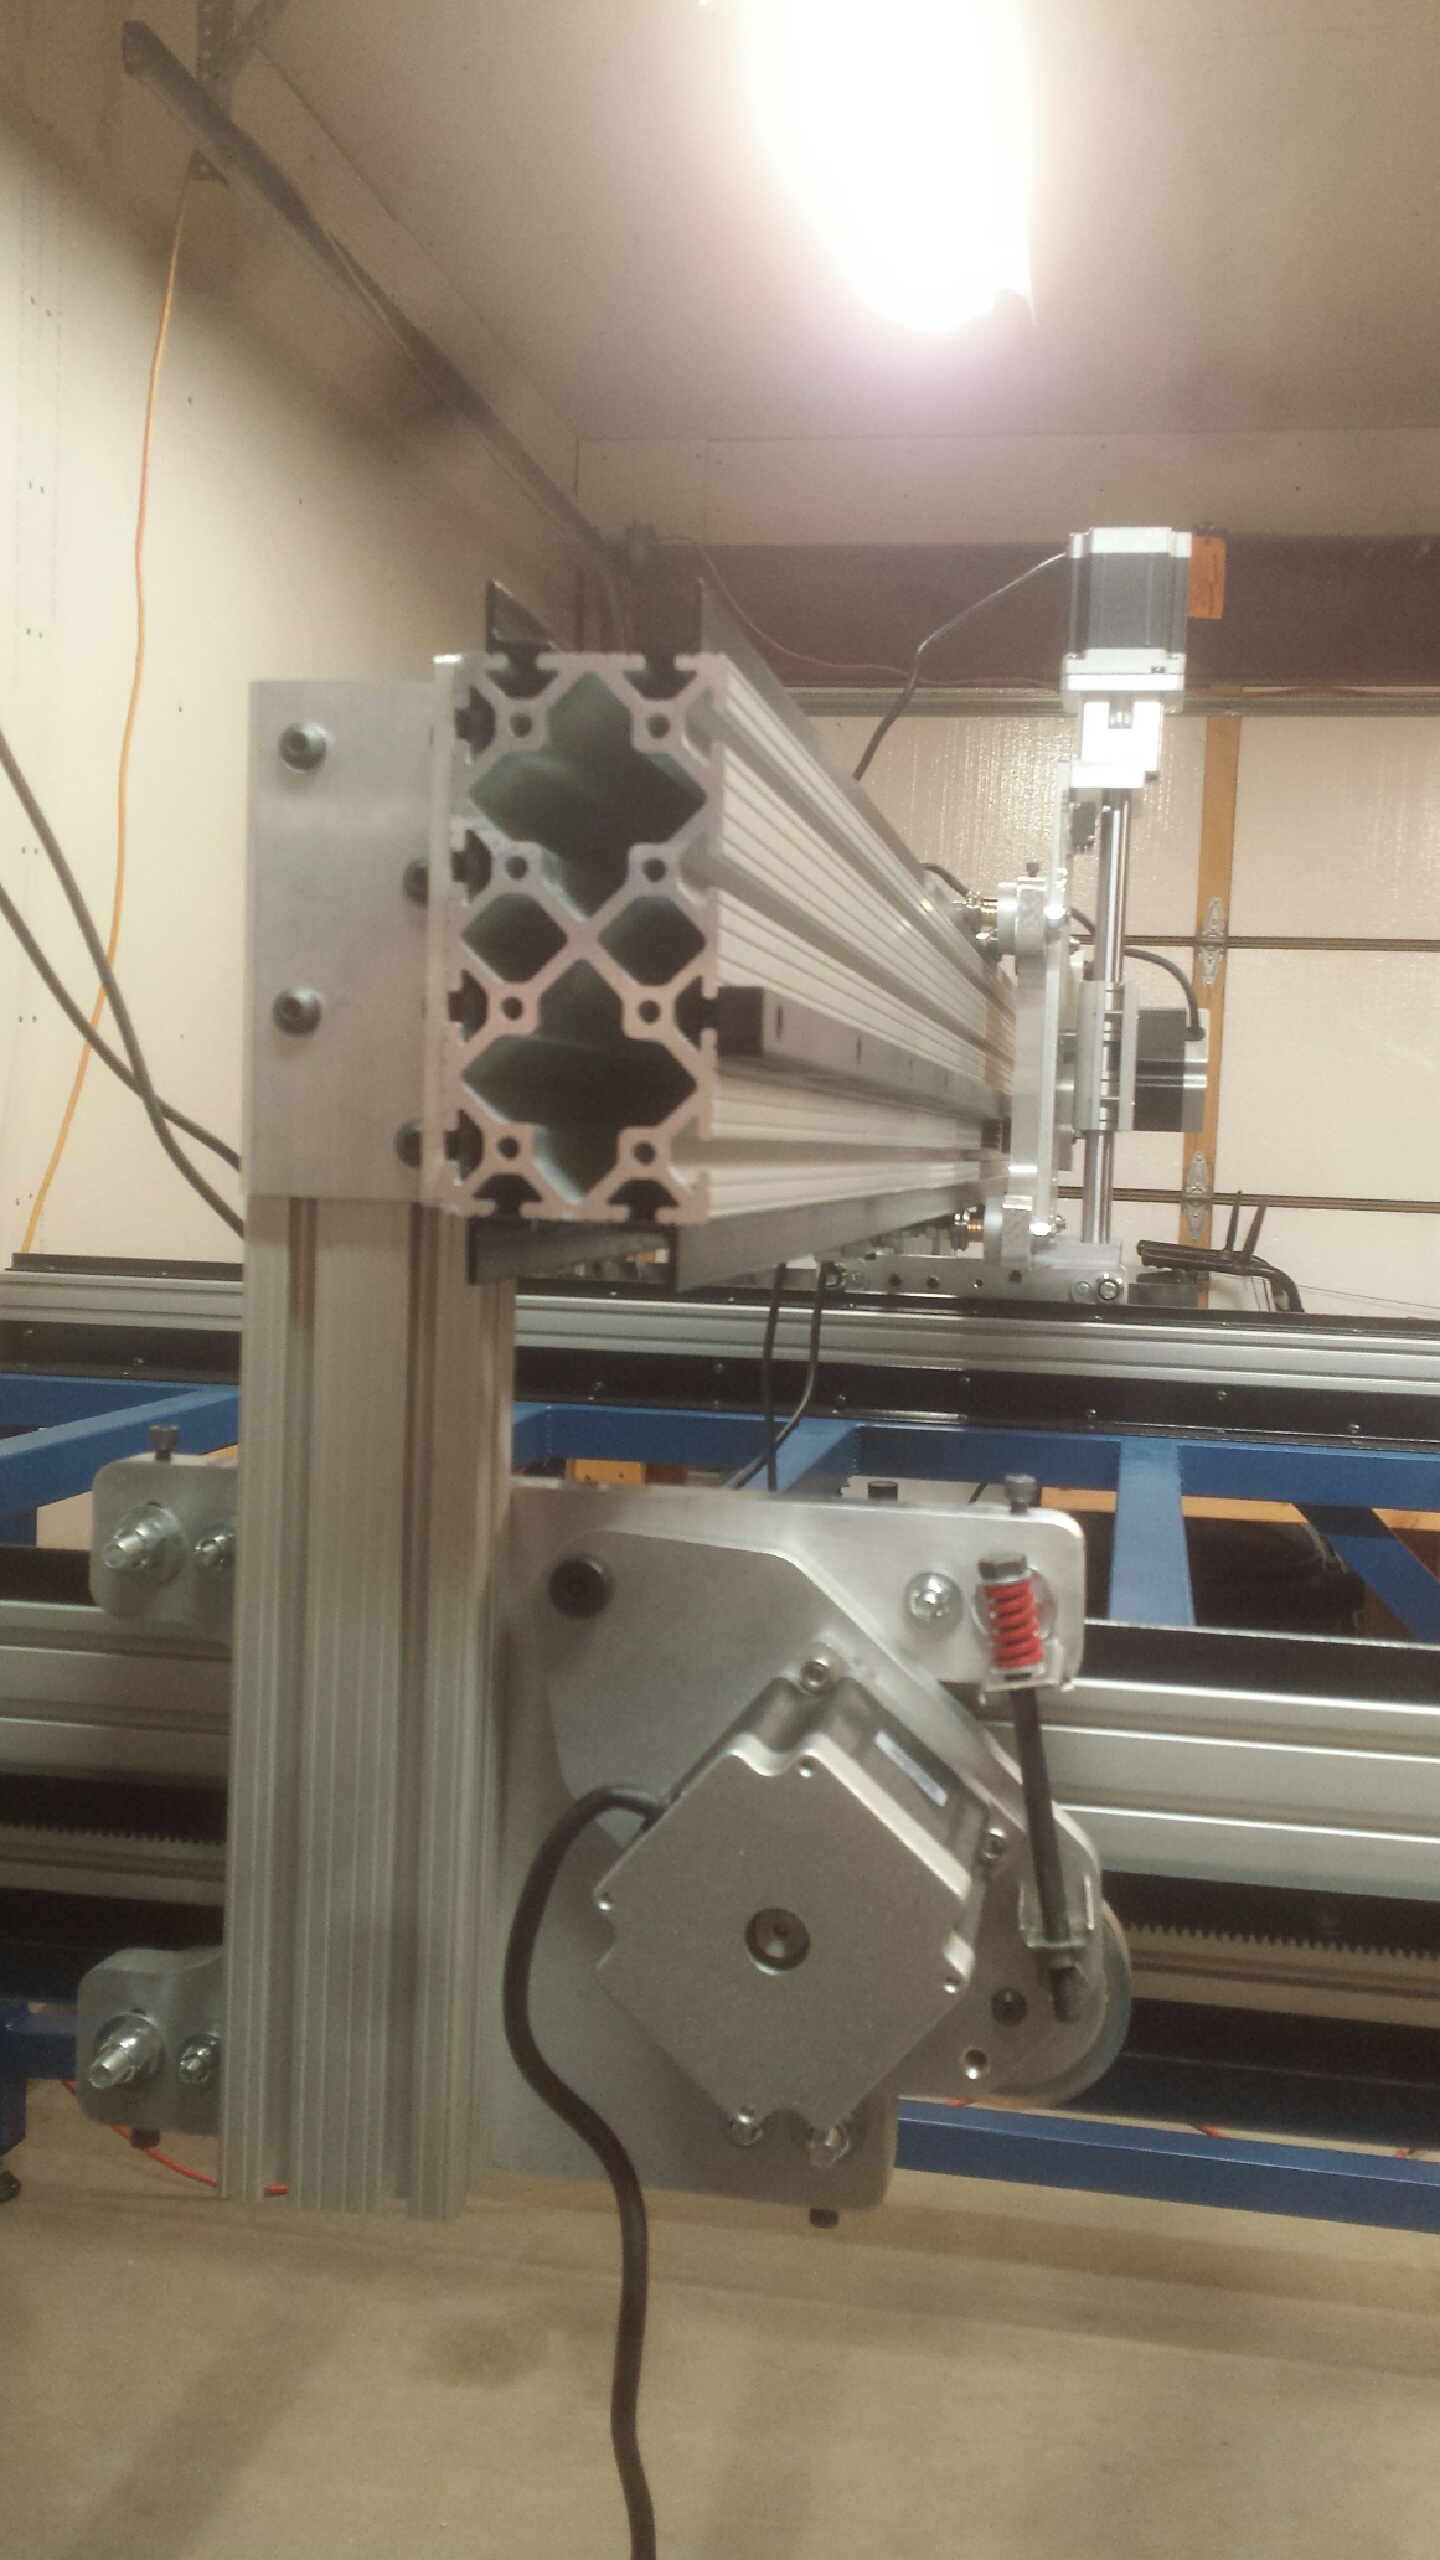
Stepper Motors
Lastly I added three layers of 3/4″ MDF to form the bed. Once I got everything wired up and running, one of my first projects was surfacing the top of the bed and cutting slots to add T-rails. The T-rails allow me to clamp parts to the table top so they don’t move around when I’m cutting.
To make it work, I have Vectric’s Aspire software running on my PC in the house. It’s great for creating 2D and 3D models, then once you’re done you create the 2D or 3D toolpath files. I then take the files out to the old PC I have setup near my CNC machine and open them in my Mach3 software. This takes all the toolpath commands and sends them to the controller box I have mounted on the wall, which in turn drives the four different stepper motors.
I got the CNC router working around the beginning of December so one of my early projects was cutting out some yard art for outside. I made these from 1/2″ sheets of plywood with the large areas pocketed out. Painting them later was easy because we just painted the low areas then painted the high areas black.
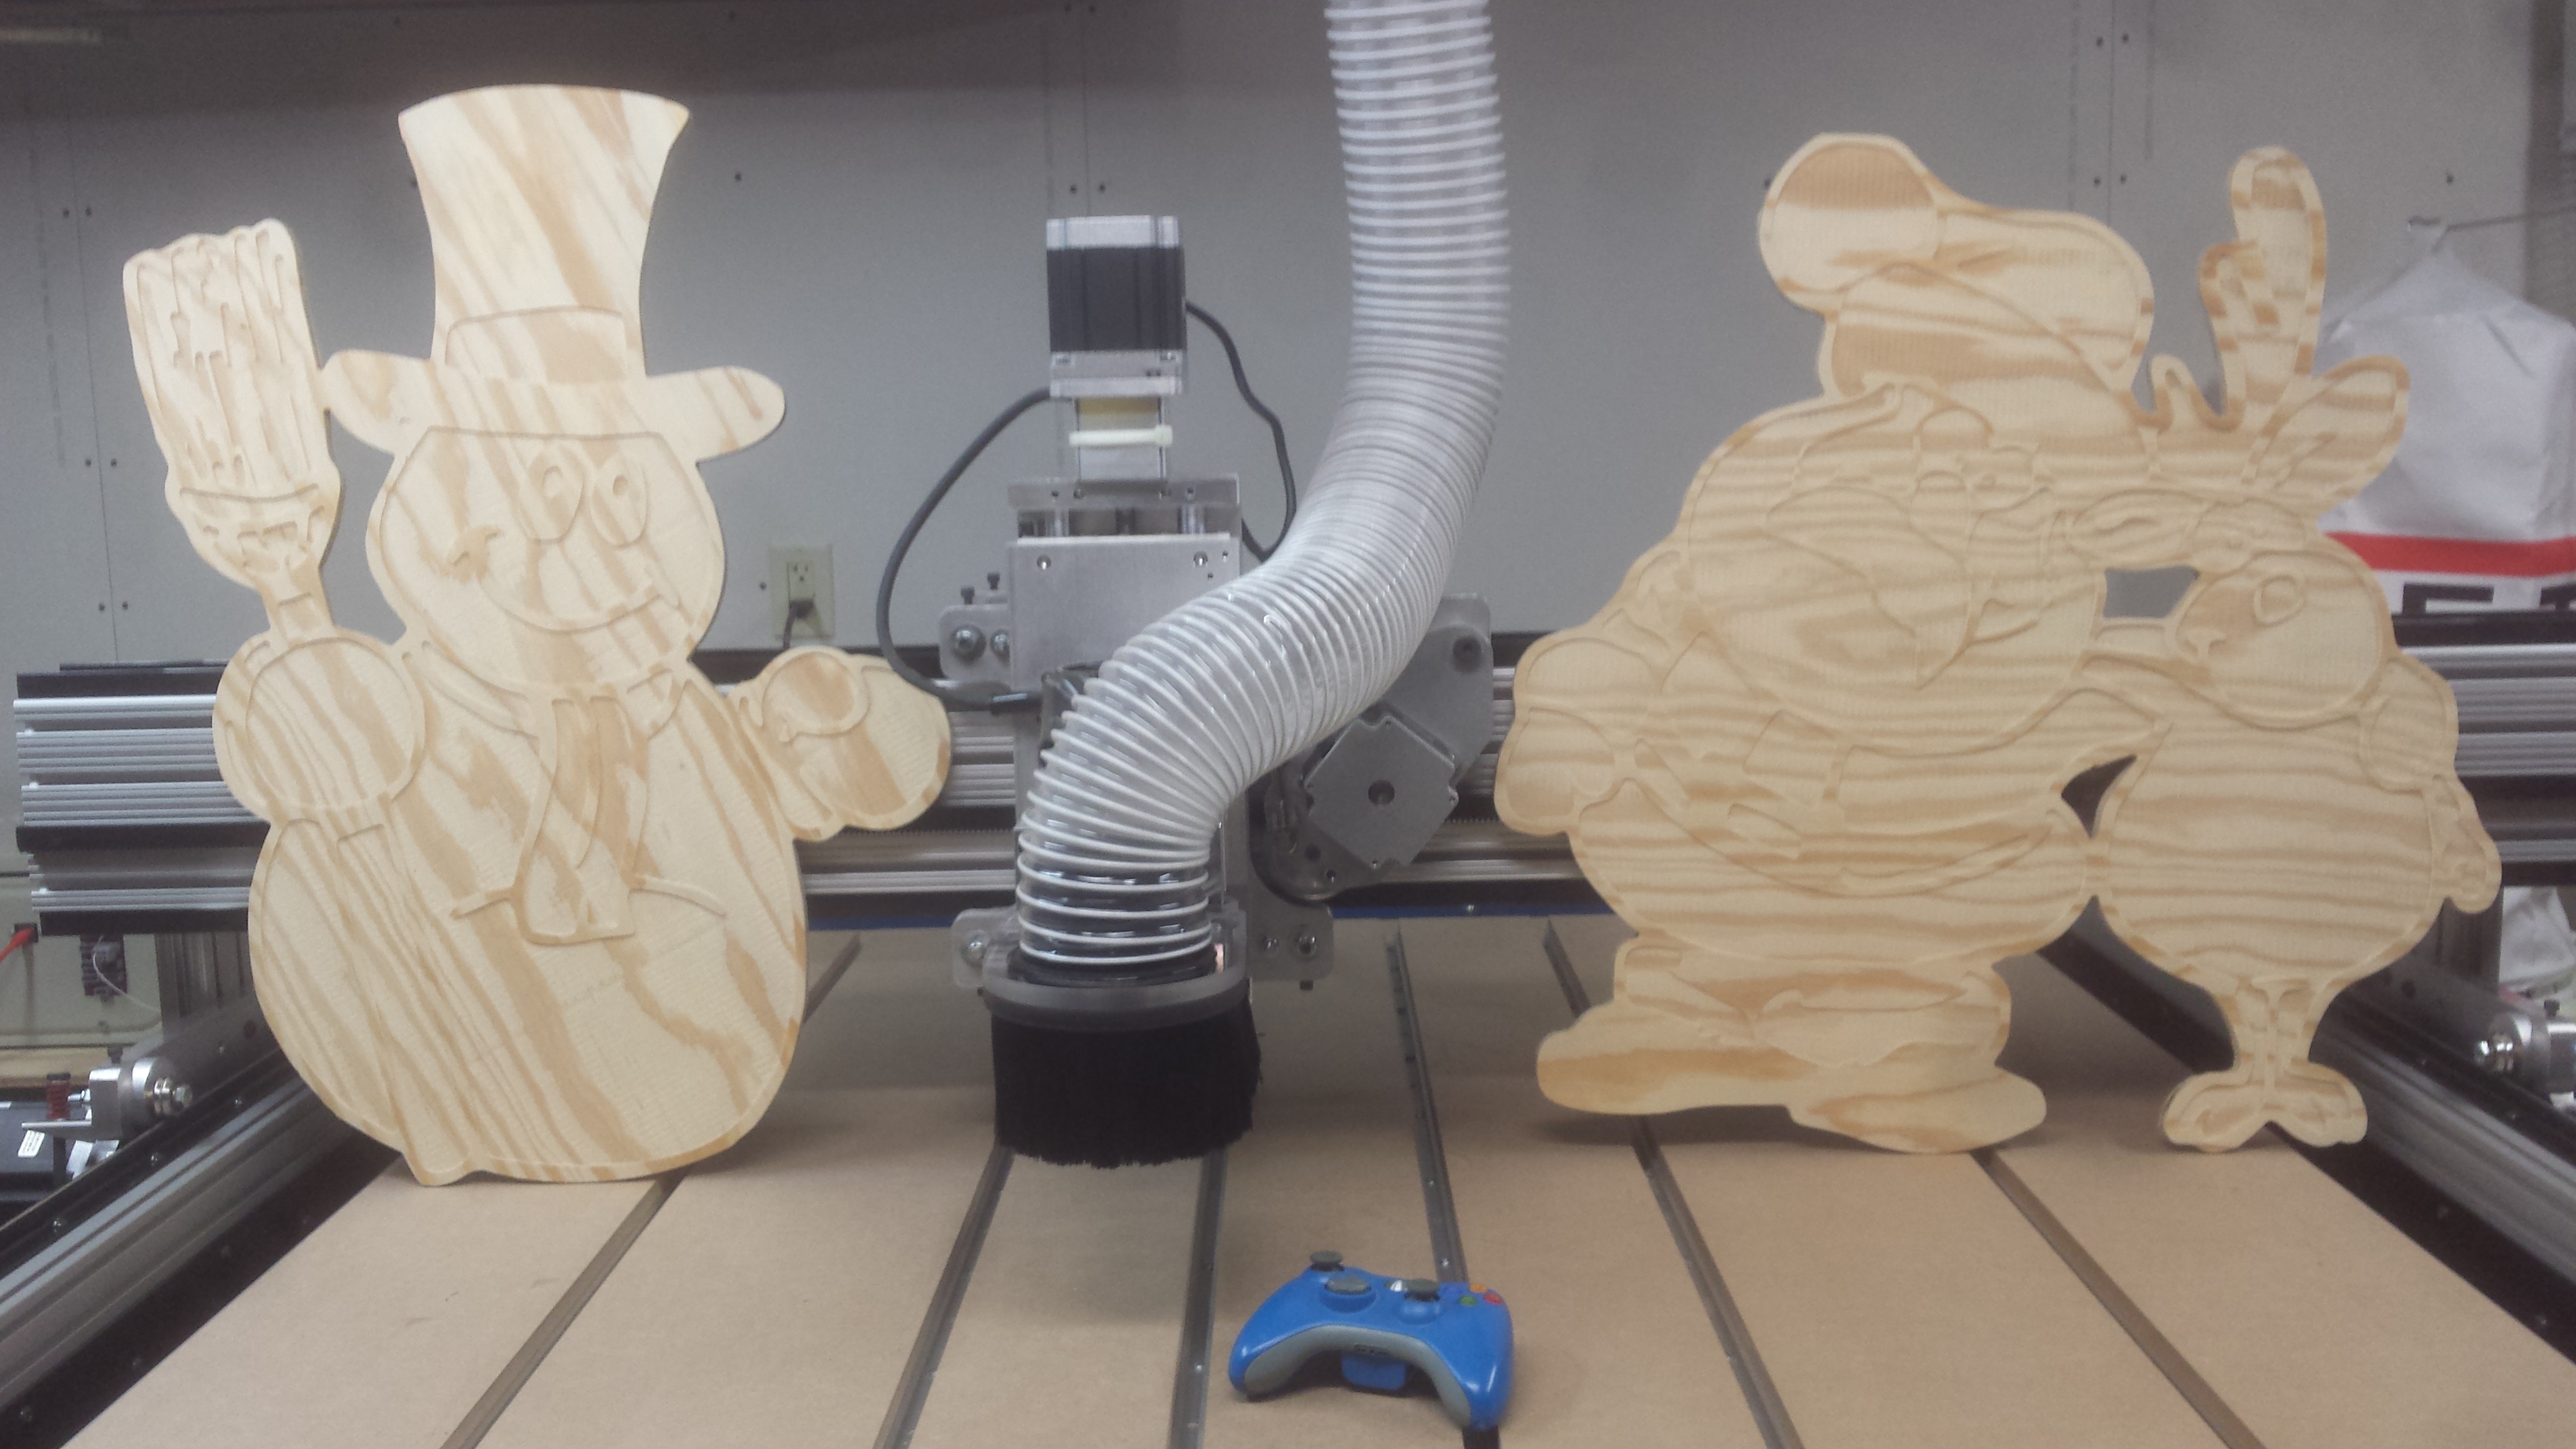
Santa and Frosty Yard Art
As you can see in the picture, I added a dust collection system shortly after I got it running. You can really make a lot of sawdust in no time at all and having it scatter all across the garage wasn’t much fun. I also have it set up so I can use the X-box controller to move the router around when aligning, setting coordinates, changing router bits or moving it out of the way.
This really is a great CNC machine. I’ve been using it for a little more than a year now and have a long, long list of projects I’m wanting to do.